Stretching Paper
While to stretch or not to stretch watercolor paper is always a personal choice, some advantages for doing might just convince you to start adapting the habit. Myself, I find it makes painting easier as I do not have to worry about the paper buckling even if I work with a lot of water. The paper will always dry flat. This also makes for easier framing of the piece.
This article is about stretching watercolor paper using staples. You can also stretch paper using tape following the principles shared here.
Materials
Stretching board – The thickness of the board will depend on the size of the paper. For the video demo, I used a 1/2 inch thick plywood board to stretch a 20 x 30 (inches) paper. But if I were stretching paper twice as big or bigger, I would need to use 3/4 inch plywood to prevent bowing of the wood from the pull exerted by the paper. The board I used is covered by a plastic called locally as “mantel.” This protects the paper from direct contact with the board and the acid in the wood. I will do an article on it another time.
In the picture are the other tools.
1. Gun tacker or staple gun. I would advise buying something similar instead of using the big office staples. Less chance of ripping the paper in case of slips. Got this tacker for less than 300 PHP. It came with a small box of extra staples. Gun tackers use particular size staples. Best while in the store, open the box and ask the clerk to get you the exact size refills for that gun. Wrong size may jam the gun.
2. Extra staples.
3. Staple remover. Sometimes you may need to remove errant ones so having a remover nearby is handy.
The Right Side Of a Watercolor Paper Roll
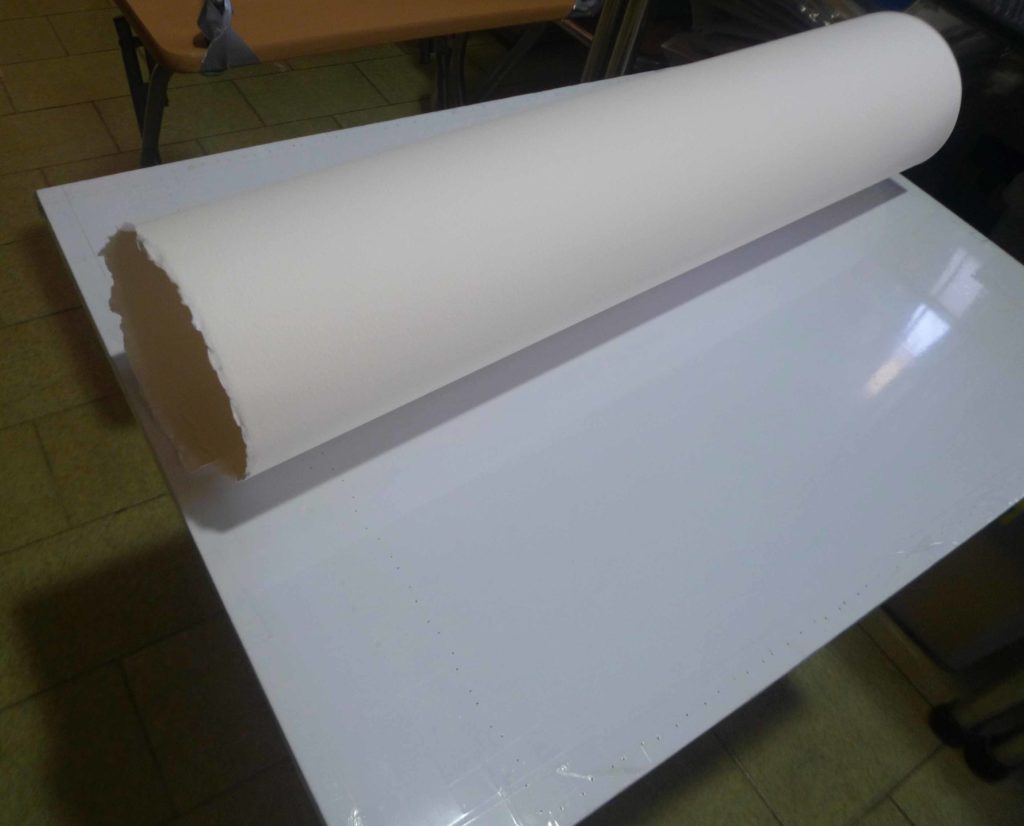
Both sides of a watercolor paper roll can actually be painted on. However, only one side will match the texture the paper is labeled as. This is the side facing out. Easy to remember if you visualize how textile is sold in the market. The surface you are meant to use or show is on the outside.
Mark the paper on one corner so you know which side is on the outside. Once you wet the paper, it will straighten and will be harder to know which side is which.
The Right Side of a Watercolor Sheet
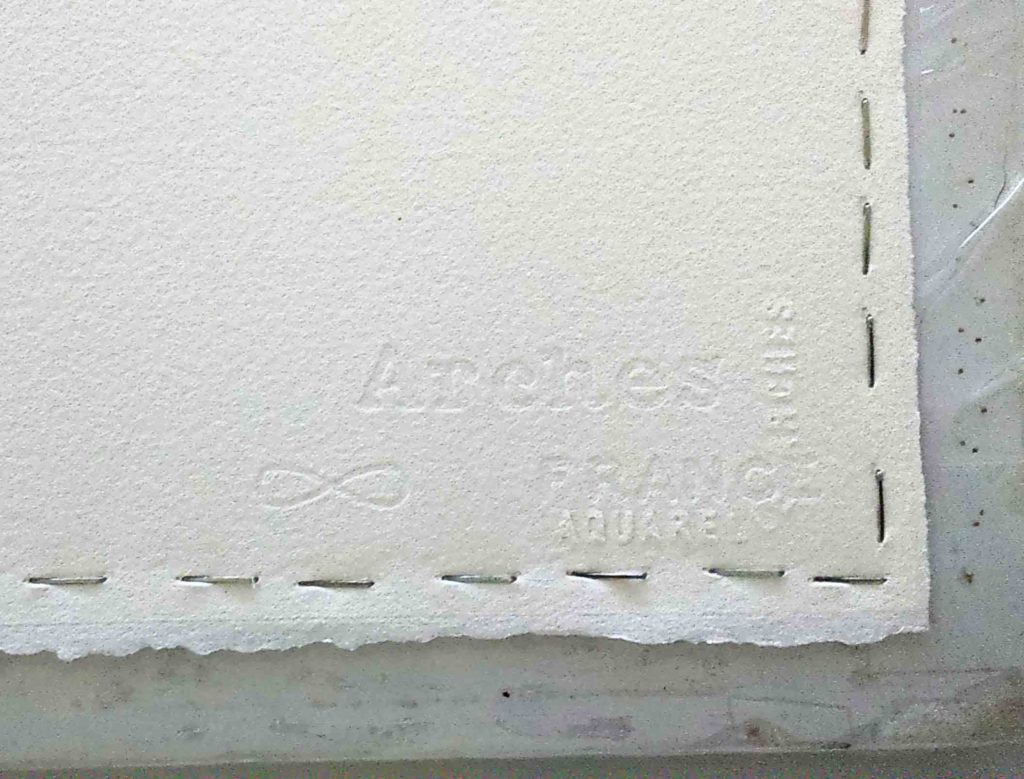
Same as with paper in rolls, most artist grade watercolor sheets can be painted on either side. The texture as advertised though is only on one side. Paper companies mark their paper either with embossed branding or with marks that become apparent when you wet the paper. You can also see this watermark by putting the paper up against the light. If you can read the logo or text right side up, then the surface facing you is the one advertised. I usually mark with a small x in pencil in one corner.
Other Clues
If there are no watermarks, use sight and feel to find which is the felt and which is the wire side.
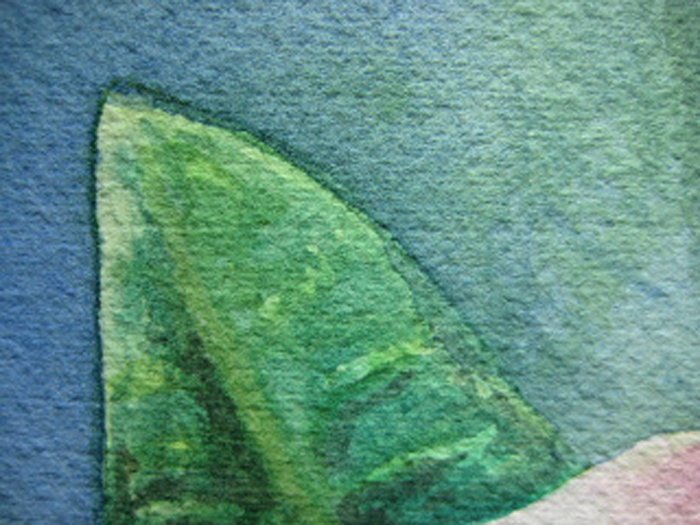
The side of the paper that gets the wire impression is the back side. It is usually the side with the rougher texture. The linear impression may not be as pronounced as my sample in the picture but that is one reason why most choose the other side to paint on. Paint may run along the linear grooves and that may make it harder for you to control your watercolors.
The other surface, also called the felt side because it gets the impression from the felt only during pressing, is the front side or the surface that gets the texture that is advertised (HP, CP, or rough).
Guide to Wetting your Paper
Wet the paper to expand the fibers. Then while it is in this expanded state, staple or tape it to anchor the edges in place. When it starts to dry, the paper will pull on these anchors as it shrinks and it will get “stretched” flat.
You can employ several ways to wet the paper: soaking, running it under tap, or using a spritzer.
Soaking is immersing the paper completely under water in a container. You do not need to soak it long. Even just a minute or two would be enough to get the fibers of the paper thoroughly wet. I would advise against soaking too long. I soaked a paper for 30 minutes once to see if there would be a difference. It resulted in some of the paper’s sizing coagulating in spots leaving areas that would not take in any paint.
If you do not have a container for soaking, you can just put the paper under tap or running water. Make sure all surfaces get wet (front and back). Try not to let the water jet on one area only as this may also damage the sizing in those areas. For bigger paper sizes, use the bathroom shower but take care to keep the paper from touching the floor and walls.
Spritzing the paper on the board also will work but takes a bit longer to wet the whole paper area well enough to start it expanding.
If you are having difficulty viewing the video:
* Please excuse the quality of the video. I plan to replace in future with a better taken one. But it should be able to show better what I tried explaining in narrative in my old blog. Had to mute the sound too because I was watching a Minions movie. Babble talk.
1. Wet the paper and lay on the board, preferred surface up.
2. Always from the center going out, push any air bubbles to the side straightening the paper in the process.
3. Start stapling the middle areas. Imagine a cross.
4. Cover or anchor all sides with light stapling from the midpoint going towards the corners. Staple every 3 inches or so. Go wider if working on bigger paper.
5. Go back and staple between the gaps.
6. Let the paper air dry.
The Stretched Paper
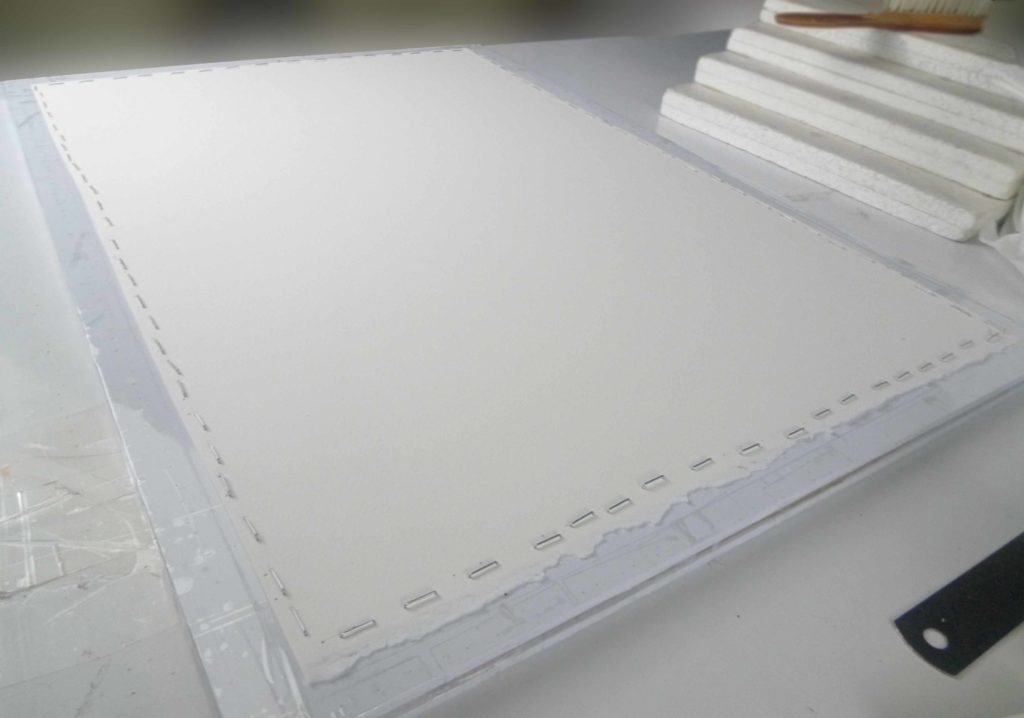
Do not remove the paper from the board before painting on it. This will undo all the stretching preparations you did. The moment you wet the same paper without the stapling or tape, it may dry distorted.
Remove only once you are finished painting your piece and make sure the paper is thoroughly dry before doing so.
The Stretched Paper
Do not remove the paper from the board before painting on it. It will undo all the stretching preparations you did. The moment you wet the same paper without the stapling or tape, it may dry distorted.
Remove only once you are finished with the piece and make sure the paper is thoroughly dry before doing so.

