Preparing artworks for mailing in a tube.
I often get asked how I pack the paintings I send abroad or through local couriers. For small unframed but matted paintings, I use a flat pack. For half sheet watercolors and bigger, I prepare them rolled in a tube. We all have different ways of prepping. So far I have not received any complaints with the way I do mine. Happy to say, I always get positive feedback from clients and framers who have received them. I was told they were glad I took the precaution of preparing the painting for easier extraction.
Please allow me to share the how-to.
Materials needed.
- Drawing tube or mailing canister.
- Glassine or tracing paper
- Plastic cover
- Adhessive tape
- Scissors
- Pencil
Label your artwork.
Provide a way for the painting to be traced back to you in case it gets lost or misplaced specially when sending to an exhibition. Label your painting at the back. The information you place here can help the organizers a great deal with keeping inventory.
Pencil only, no ballpens or marking pens.
Whatever you do, please do not use ink even if you are writing on the back of the painting only. Ink from markers and ballpens will migrate to the front of the painting, maybe not immediately, but it will eventually show up on the other side given months or years. Pencil is safe to use as lead stays put on the surface you apply it on. It will not surprise you one day by appearing as a mirror image of the text you wrote on the other side.
Information to write (standard details needed for exhibitions).
- Artwork title
- Medium
- Size
- Year
- Artist name
- Contact details of the artist (address, mobile, email, website).
Other details that can be written on the back. Not required but may prove useful for authentication later. I usually do for sold works and not when I prep the work for exhibition. You may want to limit the info for exhibitions to the basics above.
- Serial Number of the artwork.
- Info about the paper and paints used.
- Legal name of the artist.
- Legal Signature (Artist’s signature at the front is usually different from the signature people use on documents.)
Rolling your artwork.
A common practice is to roll the painting with the painted part facing inward thinking this will keep it better protected from dirt and scratches. At least that is what you see in the movies. However, I do the opposite, I place the painted side out. Between compression and stretching stress, the former is more likely to effect micro cracks in the painted surface. Compression is what happens to the inner part of the roll. This surface gets compressed or pushed together to accommodate the distortion for the rolling. So being aware of this, I make sure to place the painted side out. My thanks to Jerry Dean for sharing this observation with me.
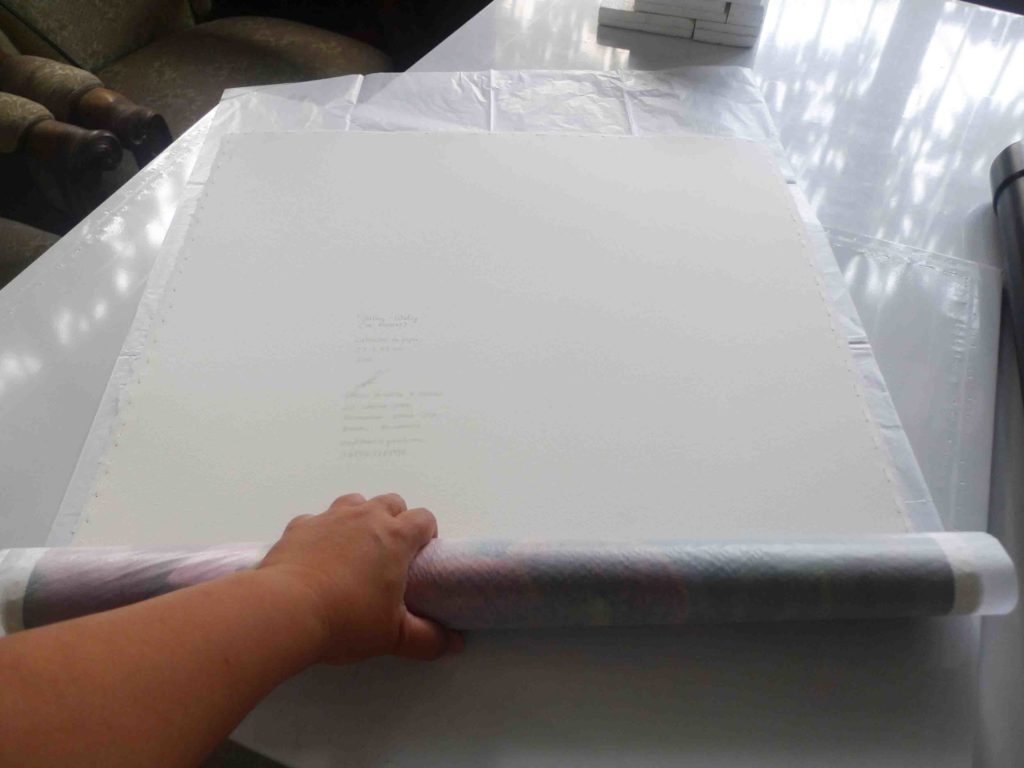
Using a Glassine sheet or tracing paper as buffer, place the painting with the painted side down and roll. The buffer keeps one surface from rubbing with the other side. If you had used pencil to mark the back of the painting, without the buffer paper, the painted part might get lead marks on it from rubbing with the other side as you roll the paper tighter.
For multiple artworks, single sending, I place buffer sheets in between paintings. Principle is the same. The sheets keep the front of one artwork from rubbing against the back of the others.
Locking the roll.
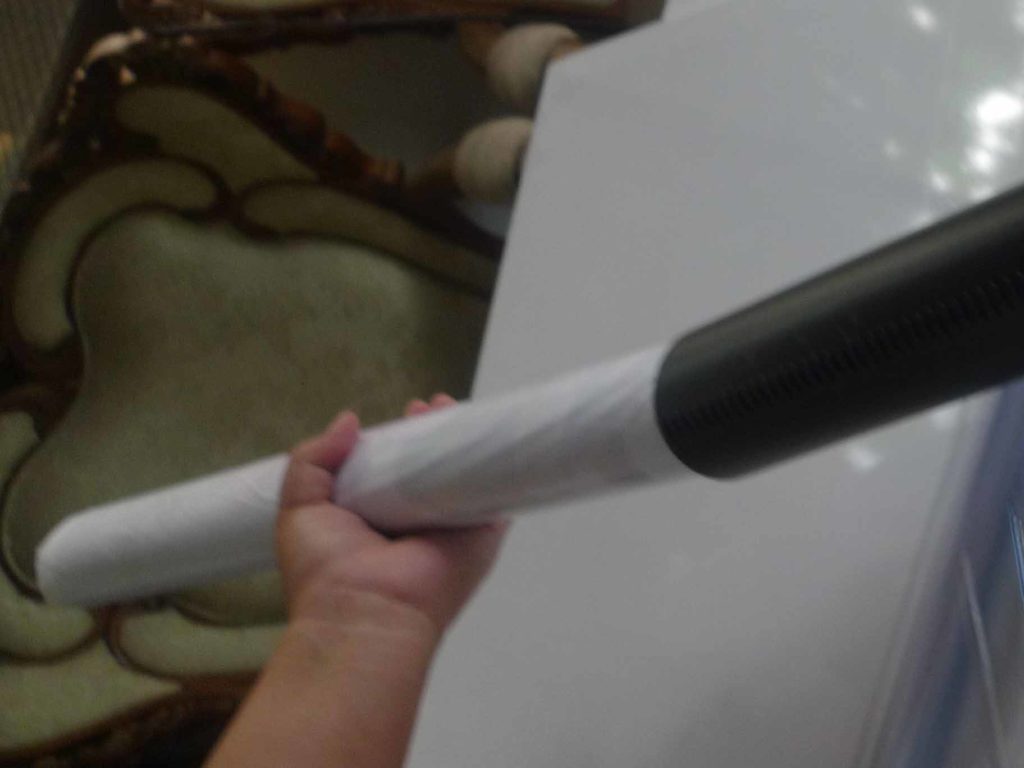
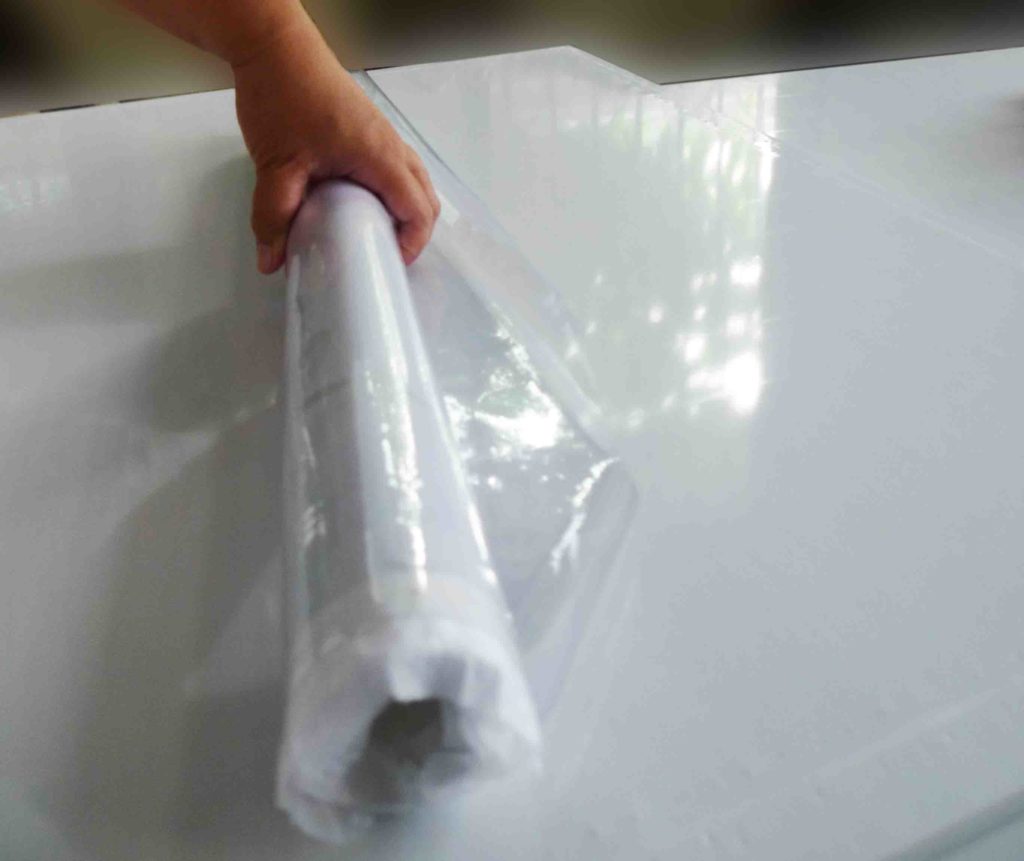
This is where the sheet of plastic cover comes in. I roll the painting tube in the plastic sheet and place the tape on the plastic (not on the Glassine or buffer paper) to lock it in position. This keeps any adhesive from accidentally getting on the painting and later dirtying it. The plastic also provides additional protection for the painting from scratches it might get from sliding in and out of the tube.
Close but do not seal yet.
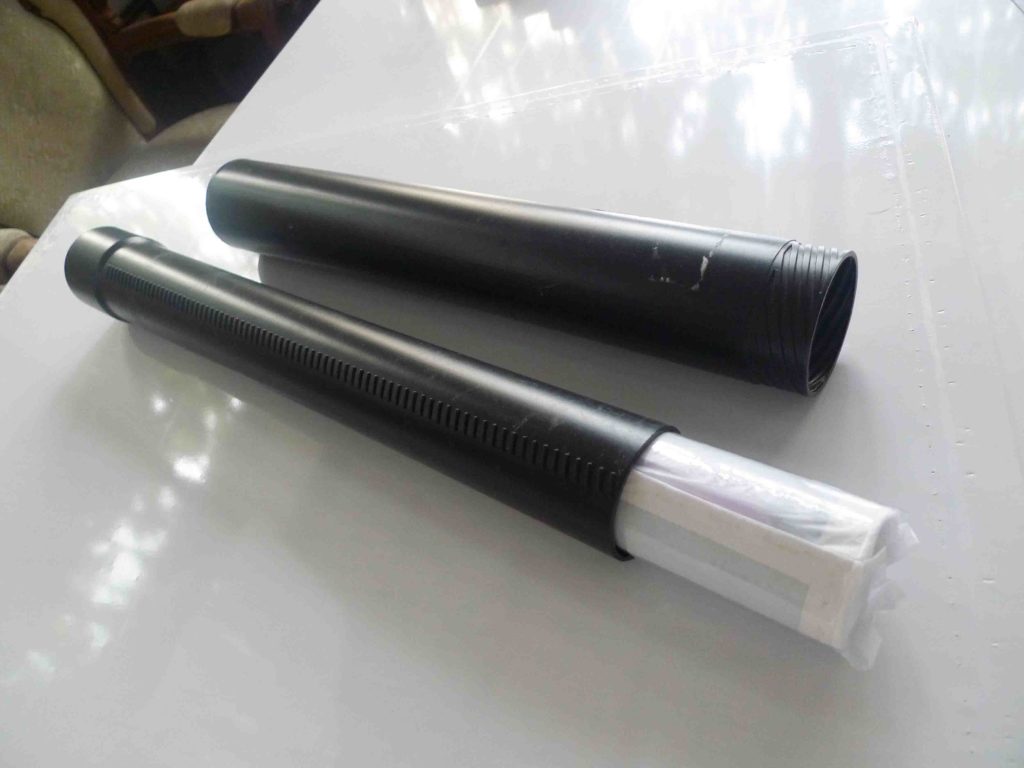
You can close the tube but do not tape it shut yet. Couriers and postal services are required to check your parcel for banned or dangerous substances before accepting the item. For tubes, they usually do not ask you to unravel the painting but they may take it out of the tube (glad you used plastic, eh) to look through the opening in the middle if there are items secreted within. Once cleared, they will close the tube and seal it with tape.
To box or not.
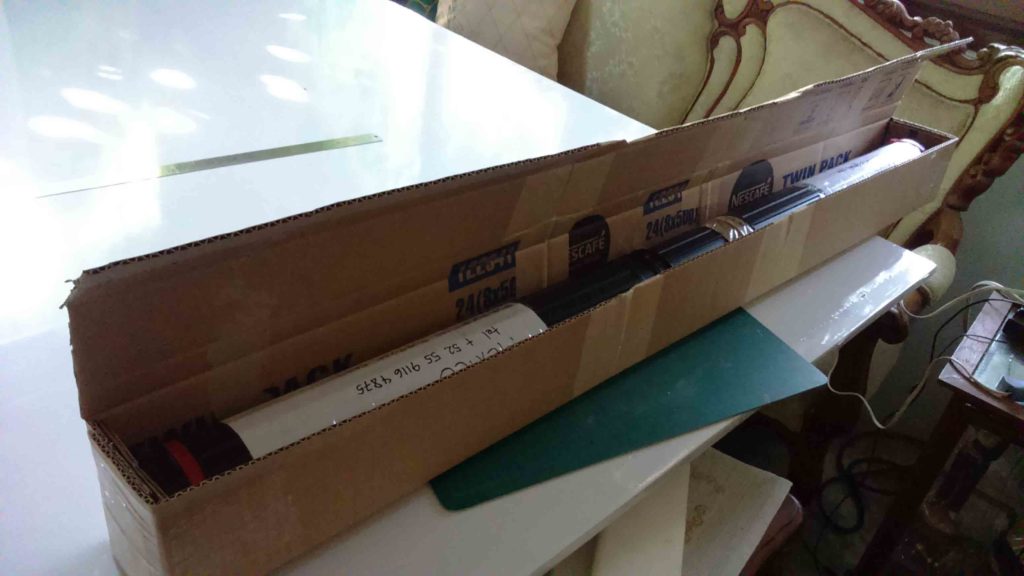
The plastic drawing tubes usually are sturdy enough to withstand mailing as long as you do not over extend it (some are telescopic and allow you to adjust size). Paper mailing canisters are available in different lengths and are designed to be hardy against reasonable handling. Boxes provide additional protection though. You can improvise one to house your drawing tube from corrugated cardboard. Product boxes made of corrugated board can be bought at supermarkets or groceries. They sell these by bulk for recycling but would usually accommodate requests for a few. May cost from 5 Php each to 20 Php. Large boxes may cost more. I custom build boxes using just box cutters, glue guns and packaging tapes.
Parcel address and receipts of course are placed on the outside of the package for visibility. If using a box housing, make sure to label your canister also with the same details in case the box gets damaged in transit. Backups are always recommended.
Tips for hassle free mailing
Secure an art export permit.
If you are from the Philippines and are sending a painting abroad, secure a permit to export the artwork from the National Museum of the Philippines. Couriers are required by law to ask for this when you use their services for sending artwork. See Republic Act No. 4846.
The application process is surprisingly doable even if it still requires you make the trip to the National Museum. You spend approximately 500 PHP for the paperwork preparation which includes getting a notarized affidavit of ownership for the artwork (150 PHP), printing of support documents and a picture of your painting (50 PHP), and the permit (around 300 PHP). Once you submit the documents to the Cultural Properties Division at the National Museum, however, you may spend more because of the travel expense specially if you are coming from the province. You may be told to come back for the finished permit days later. An alternative is asking family and friends who reside in Manila and authorizing them as a representative to process the application for you.
Other countries, please check your country’s policy regarding artwork posting. See if it has a “Cultural Properties Preservation and Protection Act.”
Check also if the receiving country has one. That would mean they will look for a permit to export issued by your version of a National Museum for incoming works.
Some considerations when choosing mailing tube material.
Probably over caution on my part, but I usually avoid using PVC pipes in lieu of the commercially available drawing canisters or paper mailing tubes. For one thing, it is heavier. Bear in mind, you pay for postage by weight. The PVC pipe may seem cheap at first but it may cost you more in shipping. Also, they are sometimes used in making improvised explosive devices (IEDs) so may be on the watch list of some custom inspectors. This might cause delays if they think it needs to be checked.
