Watercolor Cloisonne Process
From my blog: July 2, 2010 post.

For friends who are asking how I did the embossed gold outlines

First oriental painting inspired cloisonne.
20 x 28 inches (approx)

I was able to take pictures of the painting in various stages and here is how it was done.

Materials and tools  (left to right)

Gold acrylic paint
Acrylic painting medium
Repurposed craft pen
Ruling pen
Nail pusher
Plastic container to catch drips

As with most of my paintings, I draw everything beforehand on Manila paper.  It allows me the freedom to move elements about, erasing and re-drawing several times, without fear of ruining the watercolor paper’s surface.

I first map out all the major forms and design with pencil.

I would refine the drawing and ink once I am satisfied with how it looks.

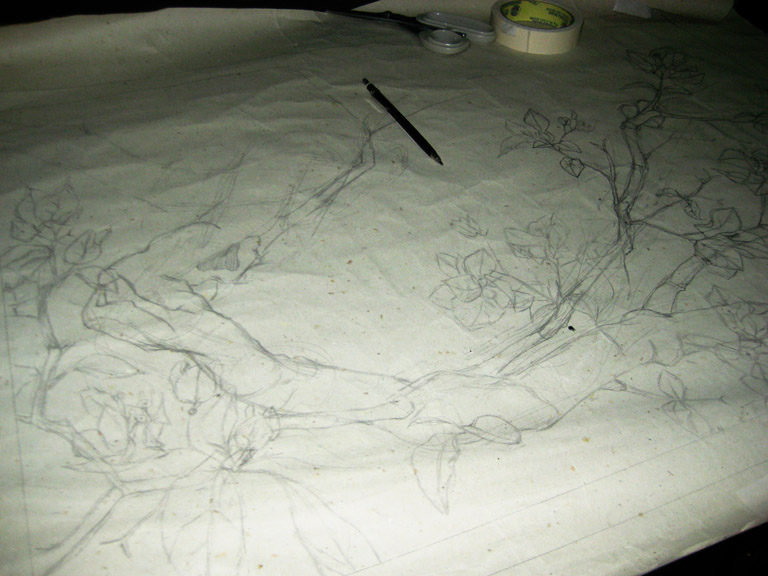
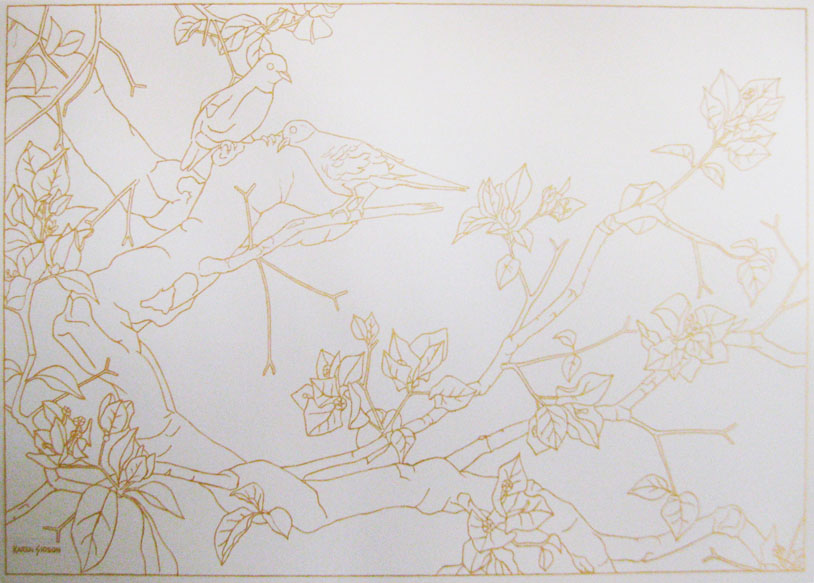
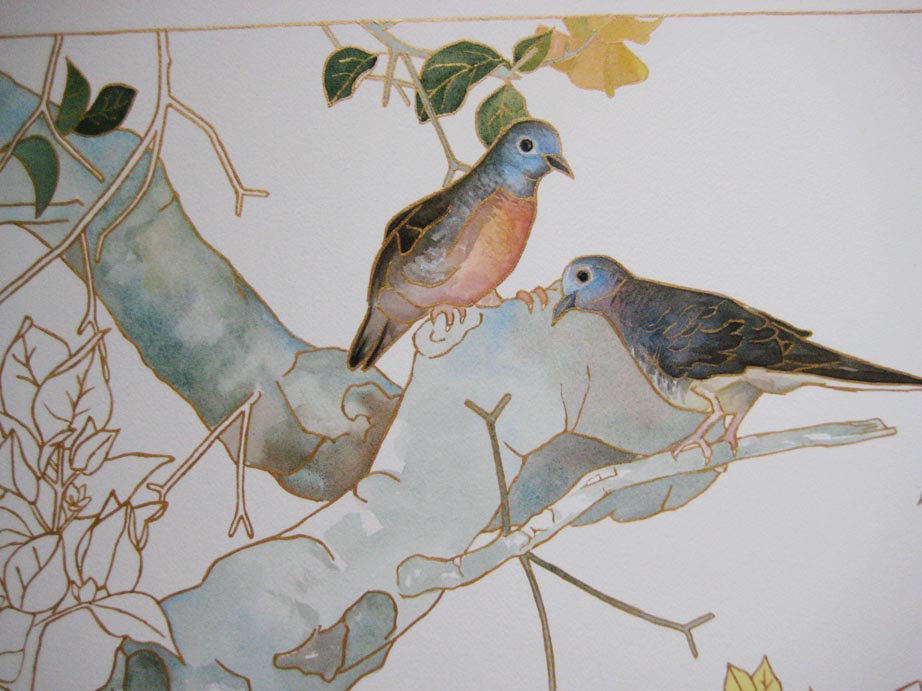
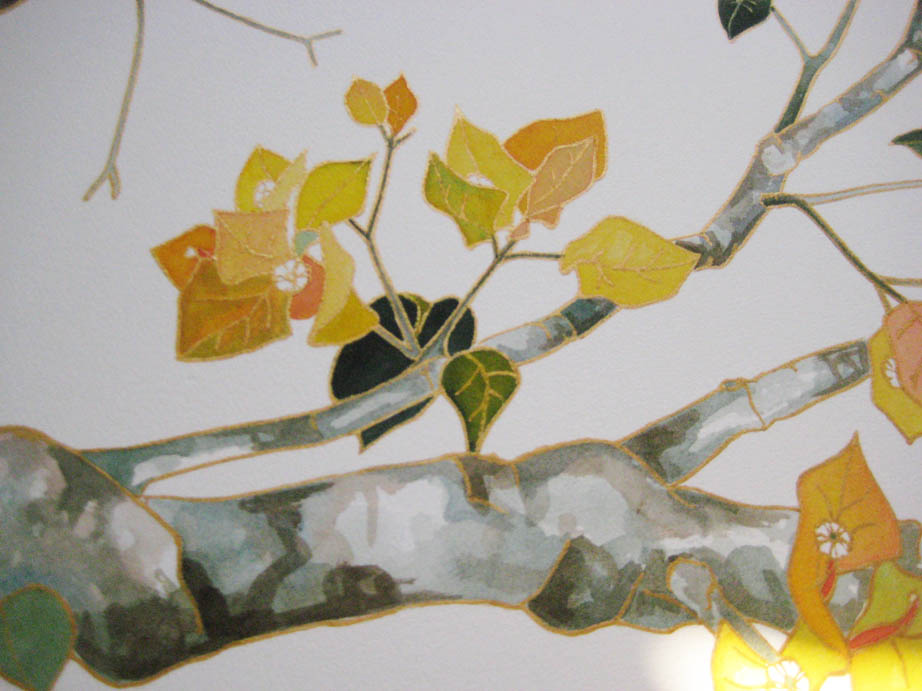
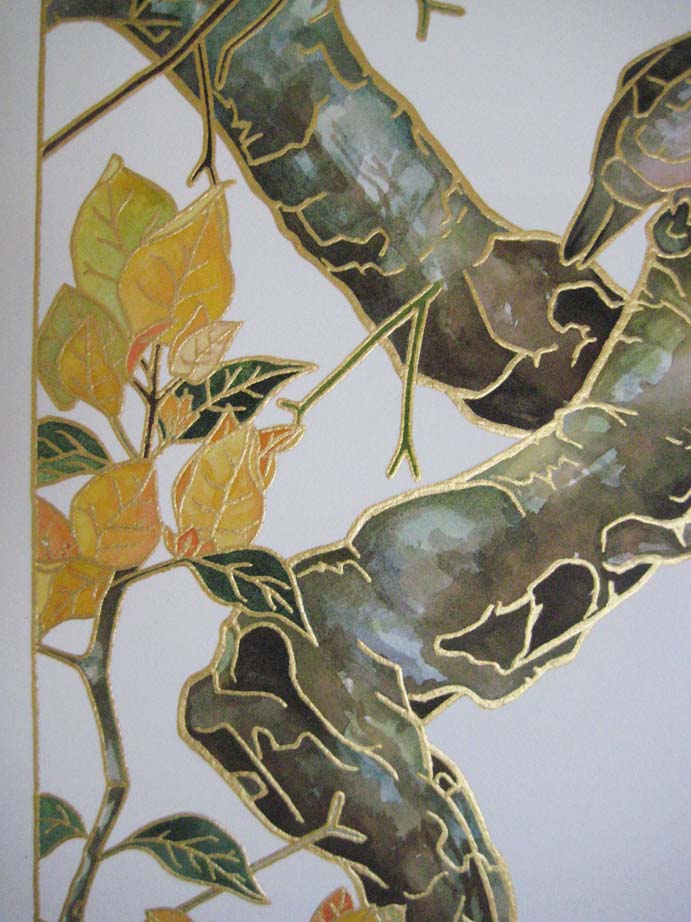
Here the transferred drawing with its first application of gold acrylic.  While you can do the gold outline last, I prefer to do it first because the first application is usually the messiest.

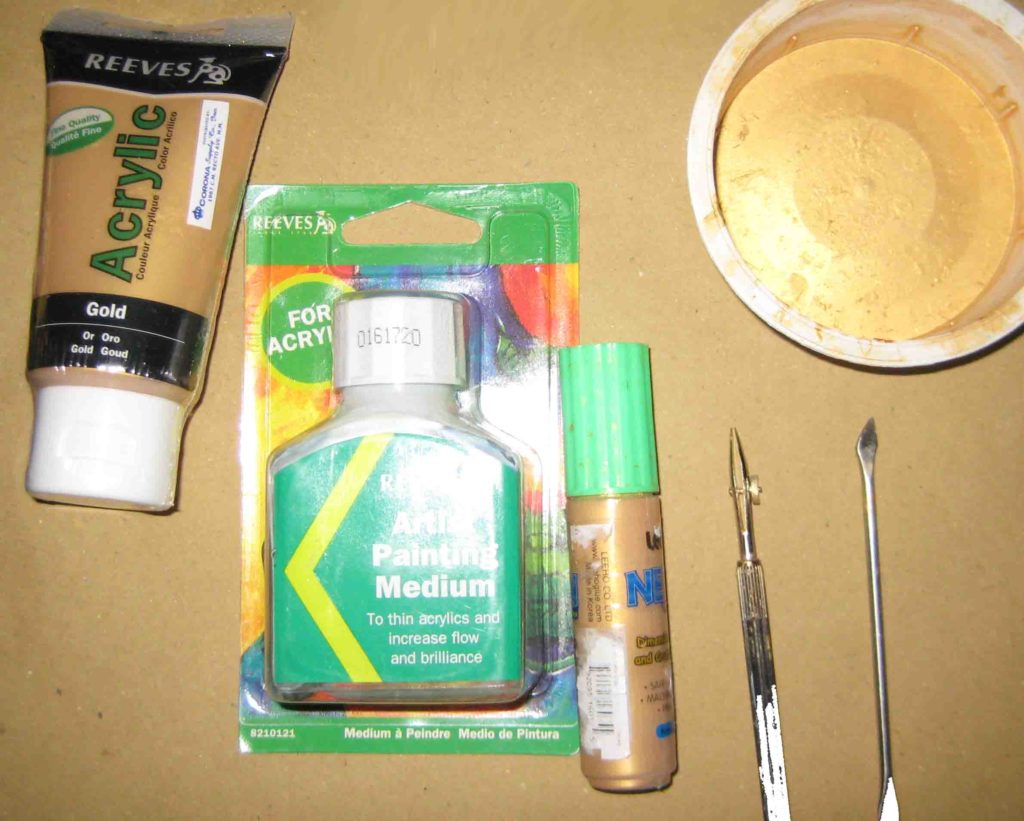
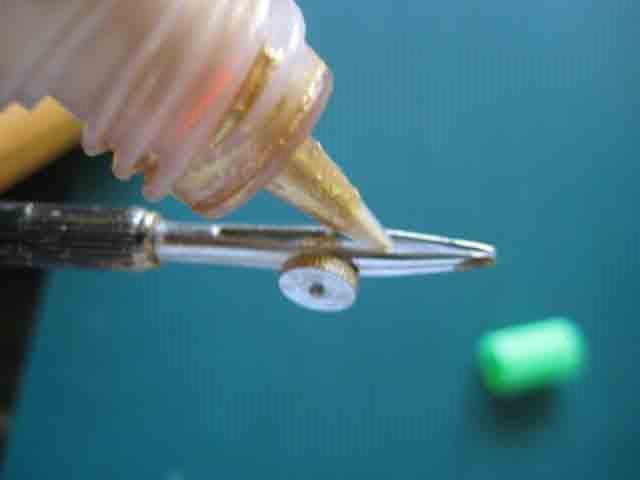
I use a ruling pen to apply thinned gold acrylic and find that sometimes when the nib catches on the paper, your hand can jerk and go out of line or the paint would suddenly blot.  Acrylic is correctable while still wet but is permanent once dry.  Because I have not applied watercolor yet, I can erase mistakes easily by re-wetting the area with clear water and blotting with a tissue paper until the errant acrylic is erased.  The succeeding applications of gold outline gets easier because the ruling pen’s nib glides more smoothly over this first layer.

In case you are wondering what a ruling pen is.  It functions much like a fountain pen and is used by draftsmen for creating straight lines.  It is designed for use with inks which goes into the open barrel (space between the prongs).  You adjust the thickness of the line by rotating the wheel tighter or looser which narrows or widens the nib’s gap.  You can use liquid acrylics with this pen.  Picture shows a recycled craft pen I use to inject acrylic into the barrel.   Use acrylic medium or water to get the right consistency for the gold acrylic so it will flow through the nib.


Next, I would apply the watercolor.  The hard part for me is how to keep everything stylized and less detailed.

I try to imagine how enamel looks like and for each of the outlined spaces, I try to use only a single color and enhance the illusion of it being made from enamel, by applying a darker shade of the color next to where it touches the outlines only.  Next would be the re-application of the gold outlines.

I apply a minimum of 4 to 5 layers of gold acrylic to get that embossed look.  Requires a lot of patience but the result is worth it.   Make sure to dry completely in between.  Despite the thick application, it did not crack or peel when I rolled it for mailing.

Other floral paintings I did using this technique:

Thank you.